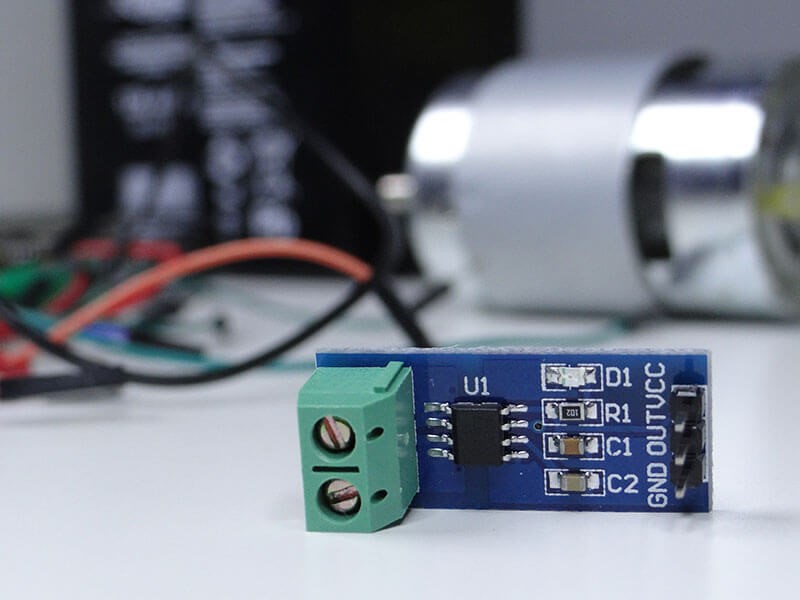
How to measure Current using ACS712 Current Sensor and Arduino

Introduction Acs712 current sensor interfacing with Arduino for AC and DC Current Measurement. In this tutorial, you will learn how to interface ACS712 hall effect current sensor with Arduino? And How to measure DC Current using asc712 hall effect sensor… Read More »How to measure Current using ACS712 Current Sensor and Arduino