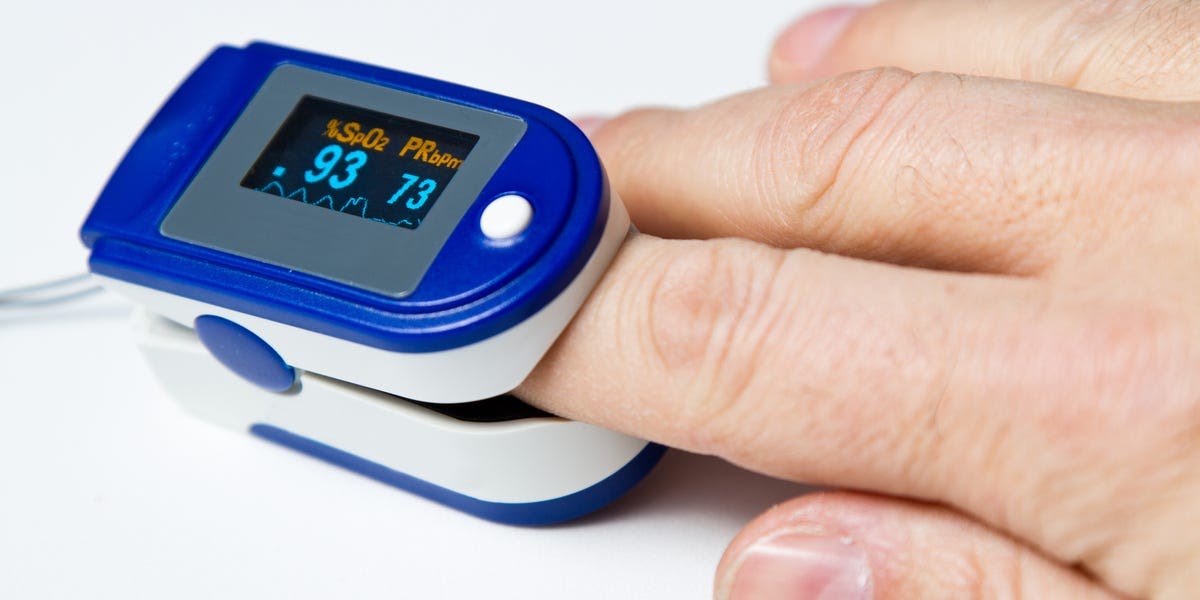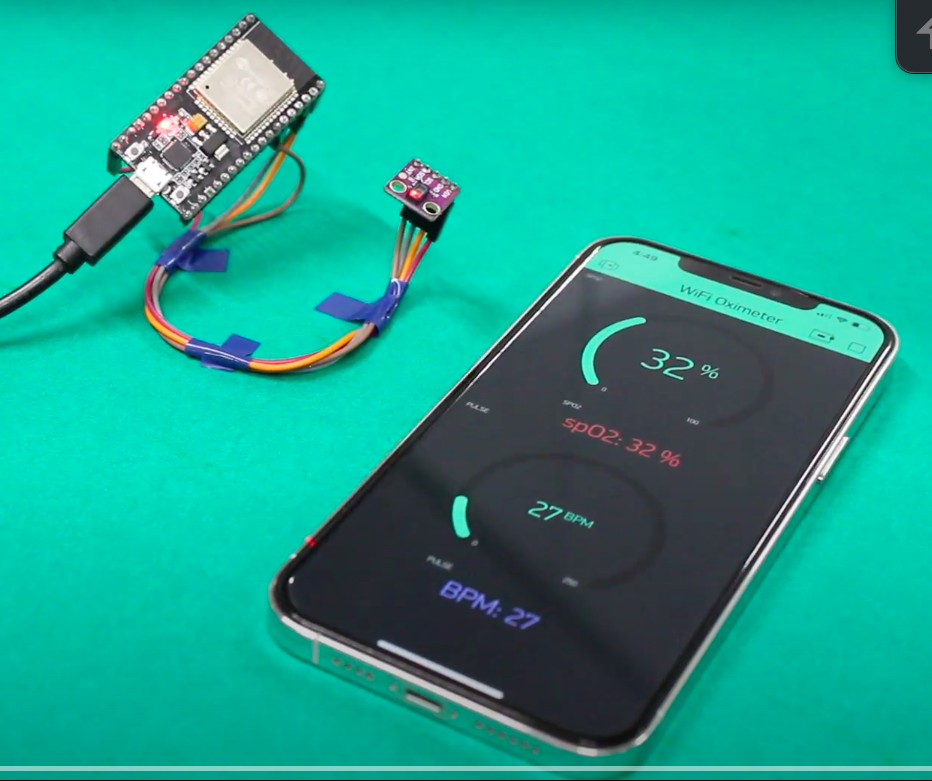
Using the MAX30102 Pulse Oximeter Sensor: Part 2 – Getting Accurate Readings

In the last part of this article, we explained how to use the MAX30102 Pulse Oximeter Sensor with the Arduino. You can read it here. In this article, we continue from the previous article and how to improve the readings… Read More »Using the MAX30102 Pulse Oximeter Sensor: Part 2 – Getting Accurate Readings